MongoDB Voyage AI Models in Azure
Deploy MongoDB Voyage AI models using Azure Marketplace
You can use Azure managed applications to deploy MongoDB Voyage AI models as real-time inference API endpoints in a customer Azure account and virtual network (VNet). Azure managed applications offer the following key benefits:
- Data flow and access control: Data never leaves your virtual network, addressing data privacy risks associated with third-party or multi-tenant serving.
- Reliability and compliance backed by Azure: Azure serves as your sole sub-processor, so you inherit all of Azure's reliability and compliance guarantees.
- Billing and payment through Azure: By using your existing Azure billing information and credits to purchase MongoDB Voyage AI models, you don't need to manage a separate third-party payment and billing system.
Available Models
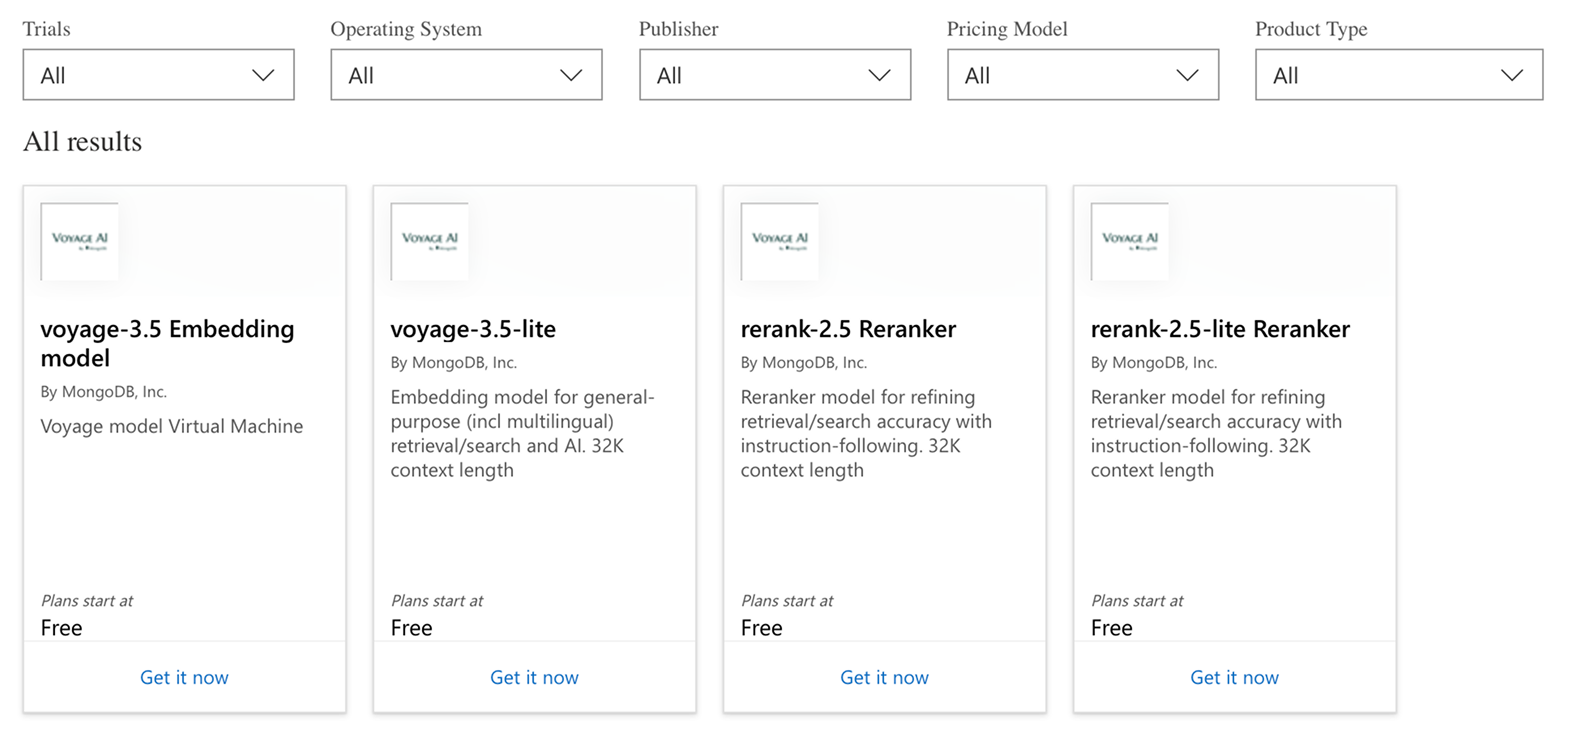
To see which models you can deploy, search for "Voyage AI by MongoDB" in Azure Marketplace .
Pricing
Azure managed applications using MongoDB Voyage AI models are billed hourly. The total hourly cost is the sum of the virtual machine (VM) price ($5 per hour) and the price of the underlying instance in your region. There is no management cost for this managed Azure application, which is why the listed Azure managed application monthly price is $0.
Prerequisites
To deploy a MongoDB Voyage Azure managed application, you must have the following:
- An existing Azure subscription.
- An existing virtual network to deploy a MongoDB Voyage Azure managed application. For instructions, see the Create a Virtual Network section.
- Sufficient GPU vCPU quota for the instance family required by
your chosen Voyage Azure managed application. To learn how to check your quota or request a quota increase, see the Quota section.
If you meet all the prerequisites, skip to the **Create a MongoDB Voyage API endpoint in Virtual Network ** section.
Quota
This section includes guidance on how to check your quota and request an increase if necessary. If you have sufficient quota, skip this section.
Check Quota
-
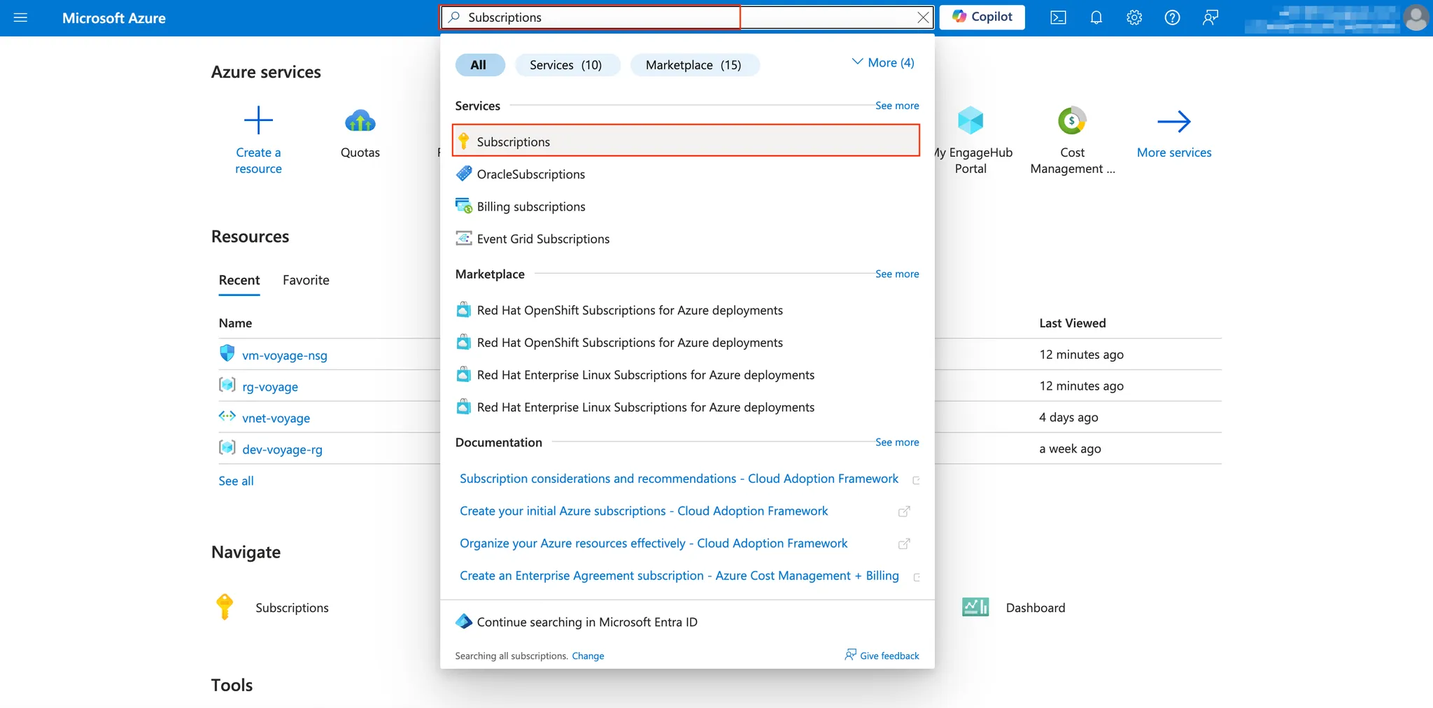
Go to Subscriptions in your Azure portal.
-
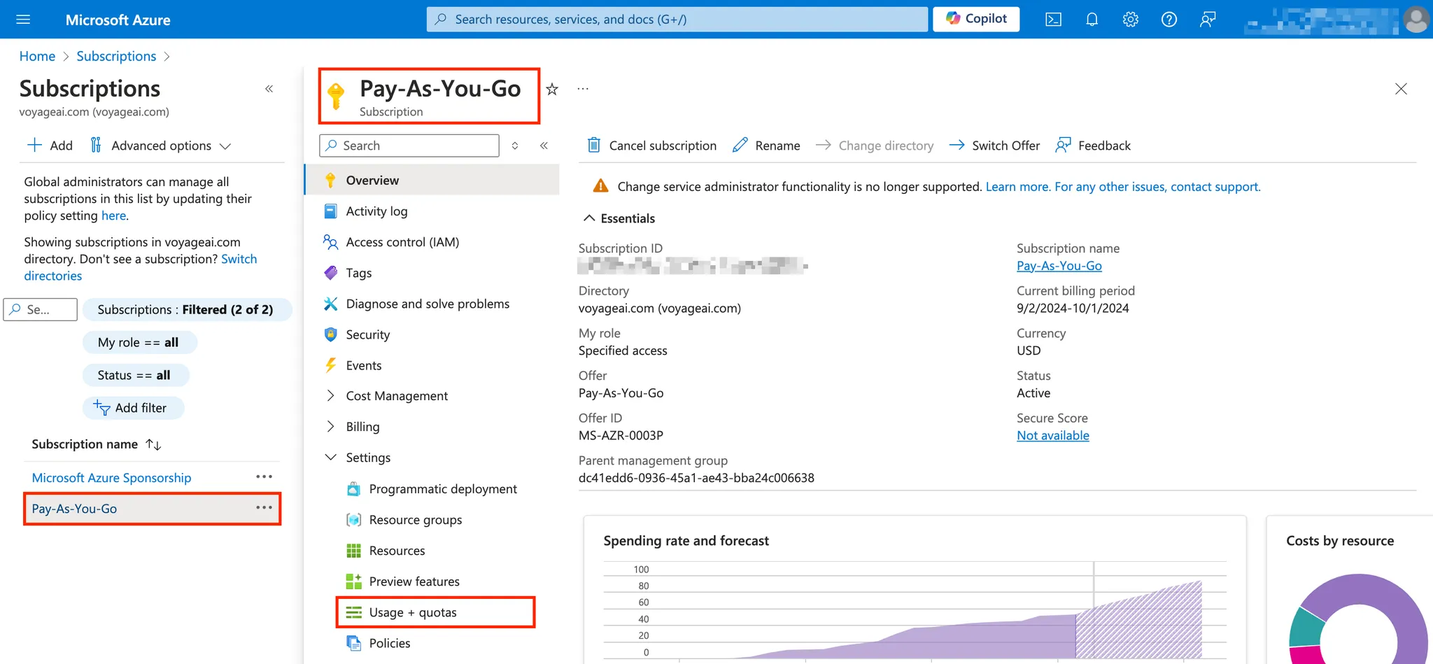
Select the subscription you want to use for the Azure managed application. In the following example, we select the "Pay-As-You-Go" subscription. Within your subscription page, select Usage + quotas under Settings.
-
Search for the GPU instance family required by your chosen. For example,
Standard_NC40ads_H100_v5orStandard_NC24ads_A100_v4. Filter the Region for your desired region; in the example below, we filtered the region for "West US 2." -
Ensure you have sufficient quota for the number of MongoDB Voyage Azure managed applications you want to deploy. Search for the GPU instance family required by your chosen
Voyage Azure managed application in the search bar. If you do not have sufficient quota, continue to the next section (Request Quota Increase) to request more quota.
Request Quota Increase
From the Usage + quotas page of your desired subscription, you can request to increase your quota:
- Check the checkbox for the GPU instance family quota required
by your chosen Voyage Azure managed application. Select the New Quota Request drop down, and select Enter a new limit. A New Quota Request panel will appear.
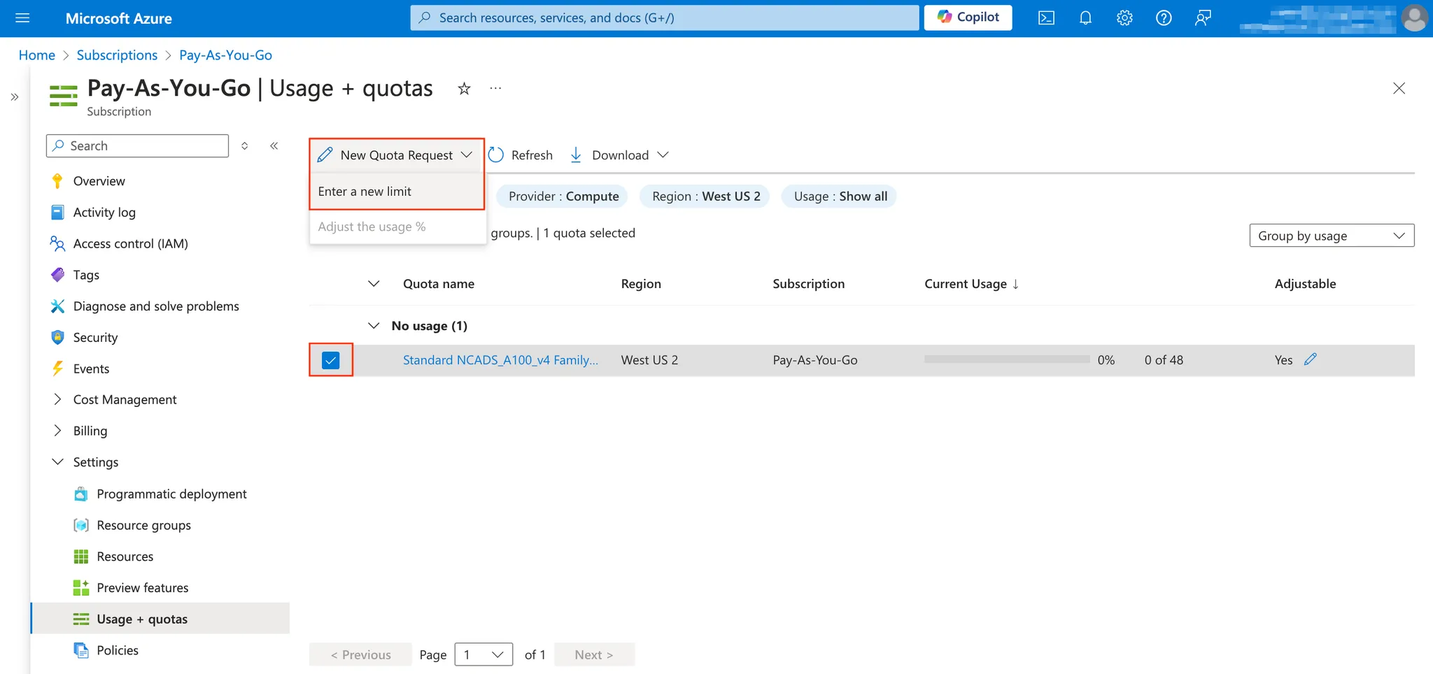
- In the New Quota Request panel, enter your desired quota in the New limit field. Click Submit.

Create a Virtual Network
If you already have an existing virtual network into which you want to deploy your MongoDB Voyage Azure managed application, skip this section.
-
Click Create a resource.
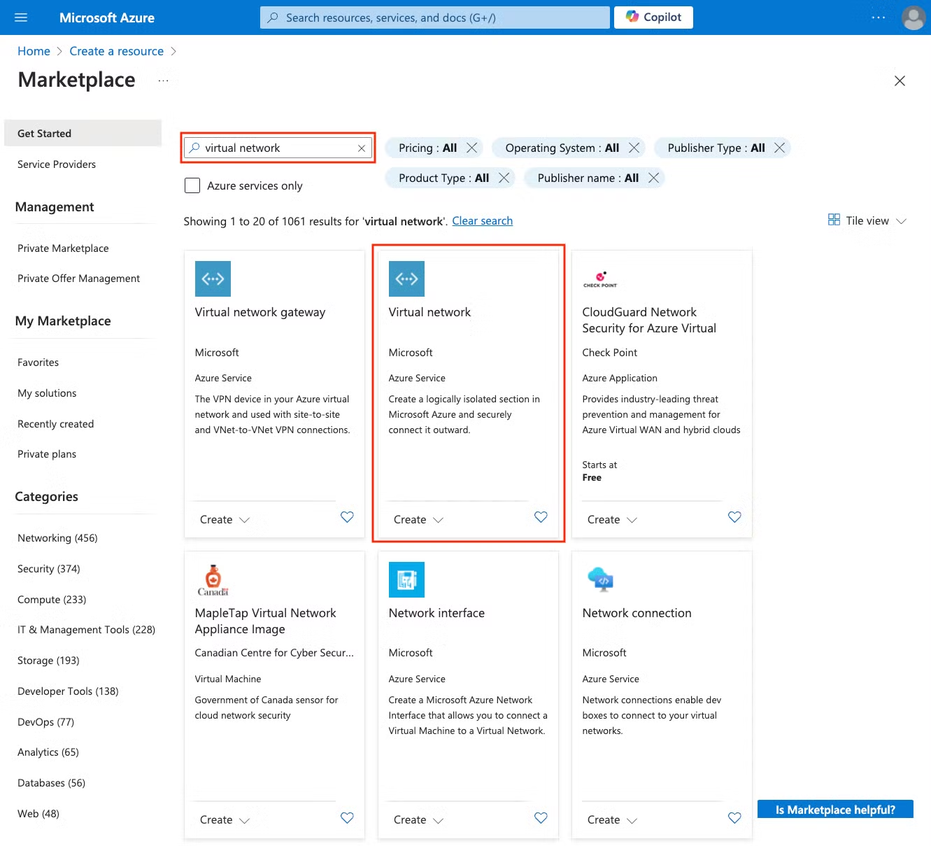
-
Search for “virtual network”. Select Virtual network from the results.
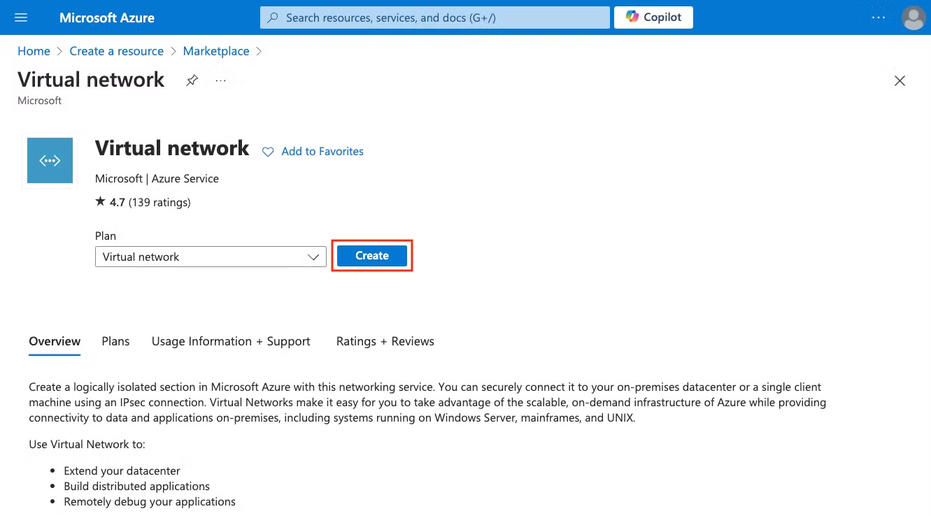
-
Click Create.
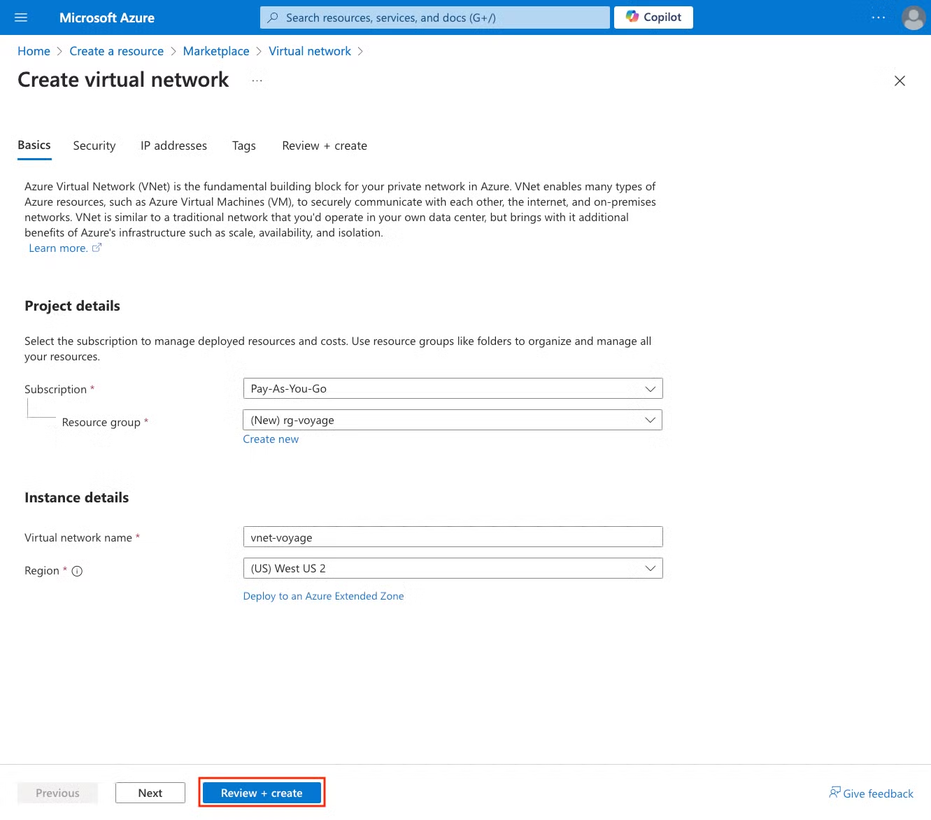
- Fill out the fields in the Basics tab.
| Field | Value |
|---|---|
| Subscription | Select your subscription. |
| Resource group | Select an existing resource group or create a new resource group. |
| Virtual network name | Provide a name for your virtual network. |
| Region | Select your desired region. This region must have the required resource quota. |
-
There are several advanced configurations like security, IP addresses, and tags. If you have advanced configuration requirements, enter them in the appropriate tabs. Voyage does not require any advanced configuration to deploy our application. If you do not need any advanced configuration or do not know, click Review + create to directly review and create your application.
-
In the Review + create tab, review your configuration and click Create to confirm. Otherwise, click on the Previous button or the corresponding tabs to make changes.
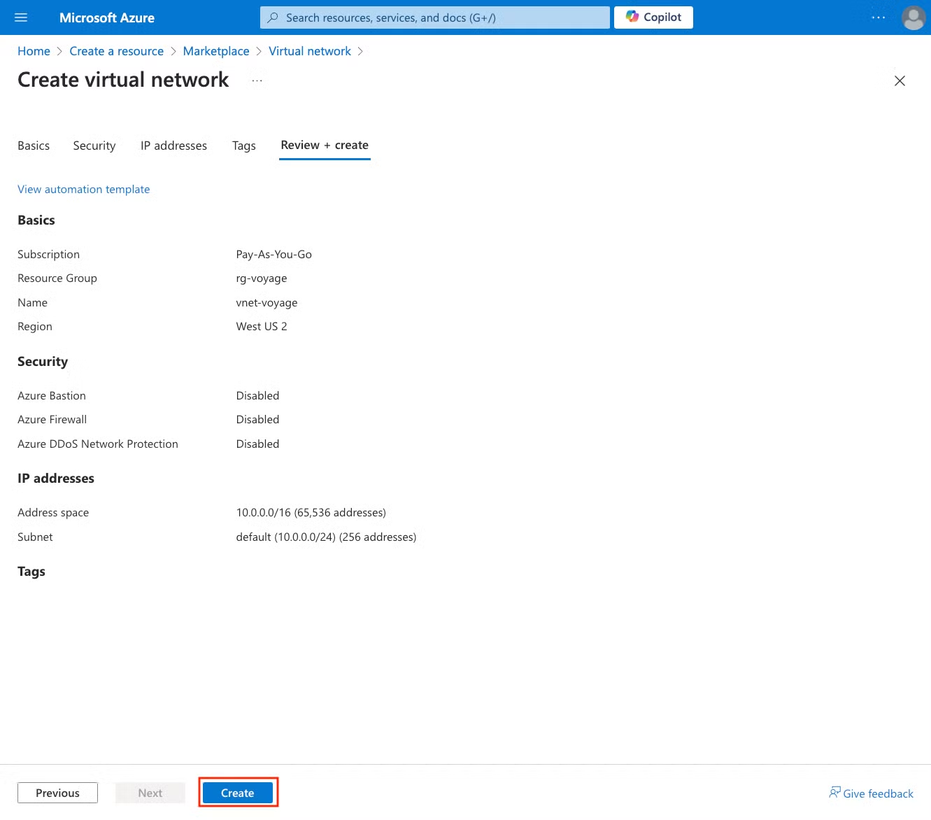
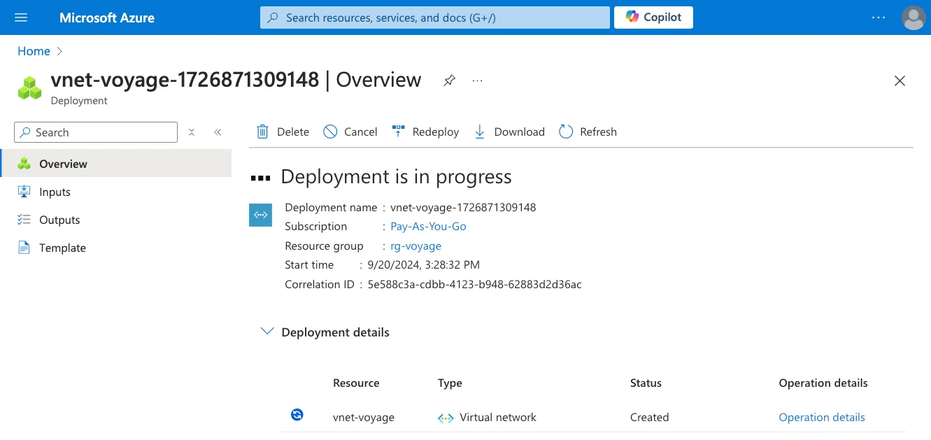
- Verify your virtual network creation. As it is being created, you will see the status as "Deployment is in progress."
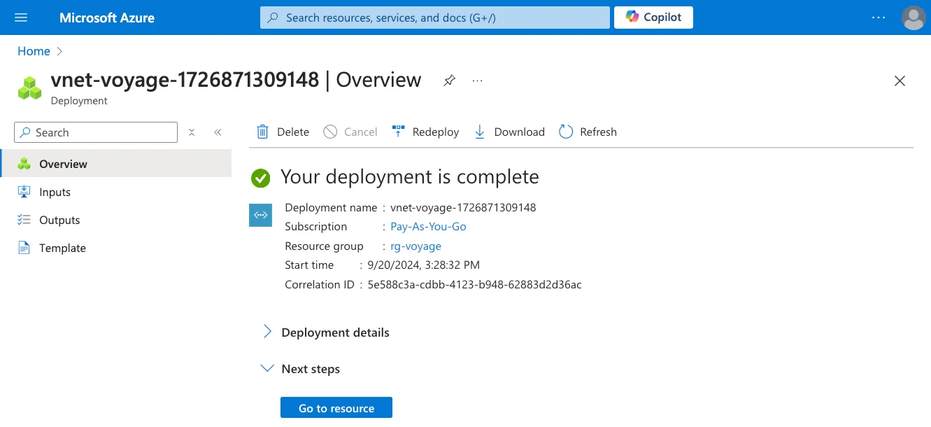
You will see the status change to "Your deployment is complete" when your virtual network has been successfully created.
Deploy a MongoDB Voyage API Endpoint in Virtual Network
In this section, you deploy a MongoDB Voyage Azure managed application in your virtual network.
-
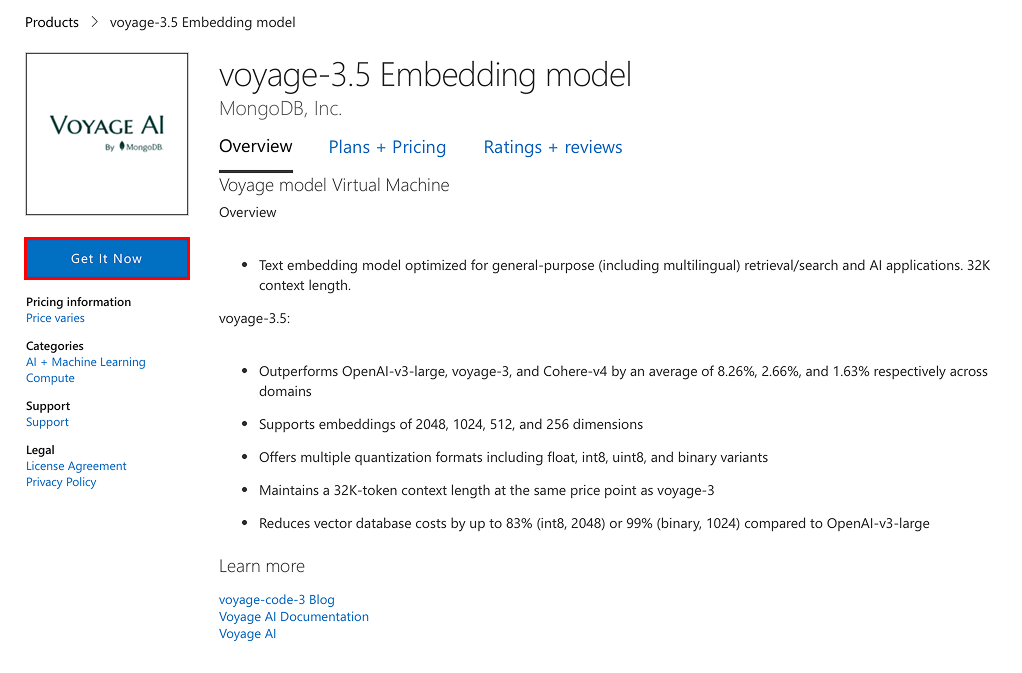
Select the MongoDB Voyage Azure managed application you would like to subscribe to in the Azure Marketplace.
-
Click Get it Now.
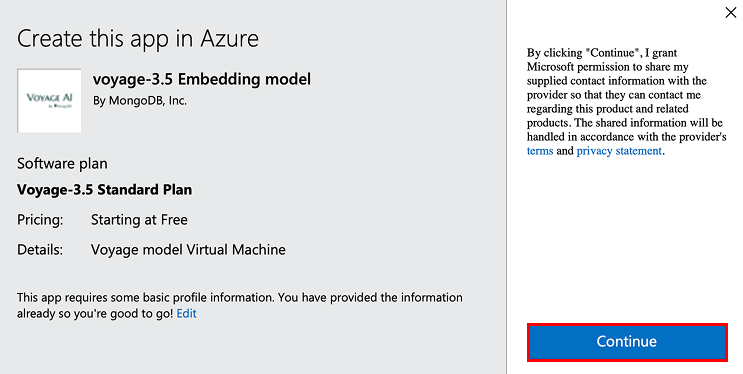
-
Click Continue in the Create this app in Azure dialog box.
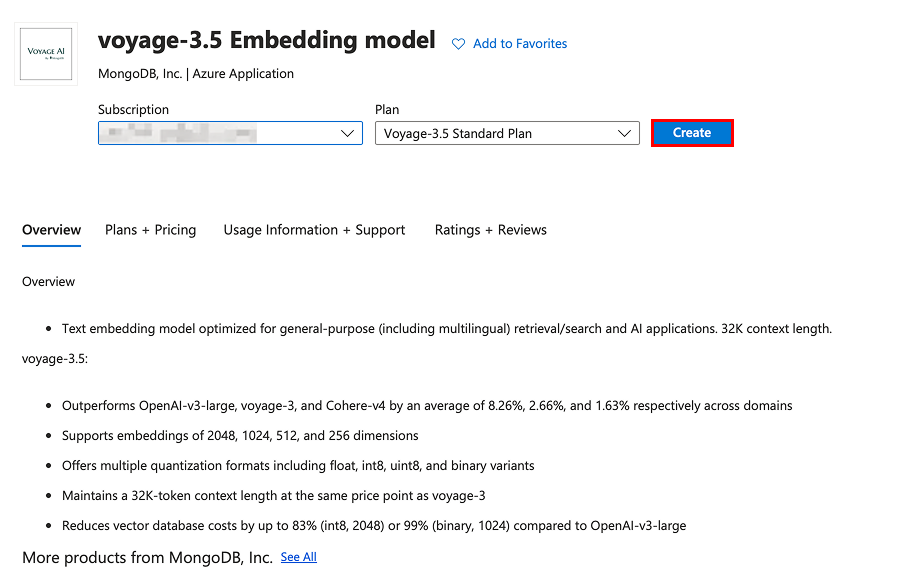
-
Create a Standard Plan Azure managed application by selecting your subscription and "Standard Plan" from the drop-down menus and clicking Create.
-
Fill out the fields in the Basics tab. Click Next to move to Network Settings.
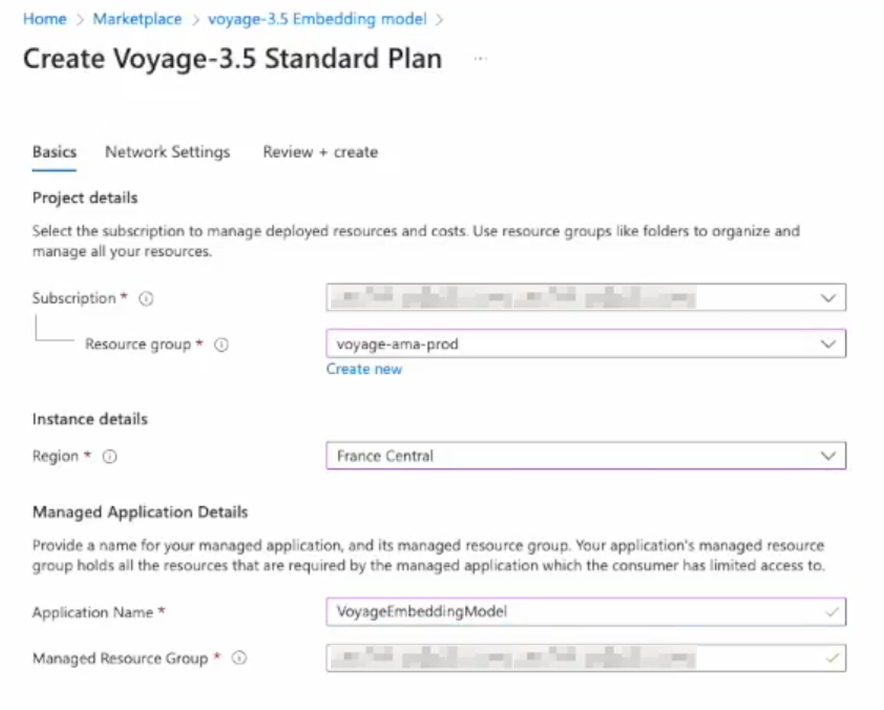
| Field | Value |
|---|---|
| Subscription | Select your subscription. |
| Resource group | Select the resource group that contains your desired virtual network. |
| Region | Select your desired region. This region must have the required resource quota. |
| Application Name | Provide a name for your application. |
| Managed Resource Group | Provide a name for your managed resource group. |
- Fill out the fields in the Network Settings tab. Once complete, click Next.
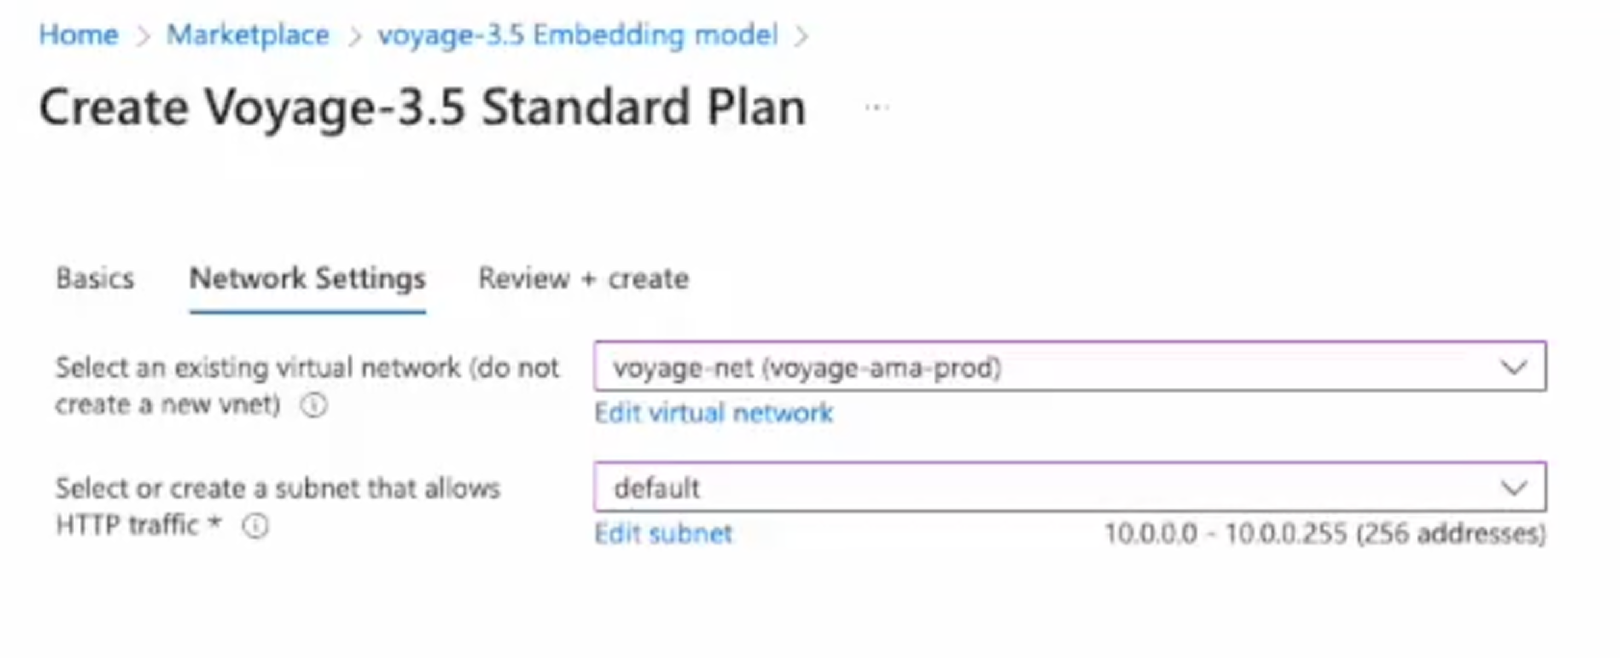
| Field | Value |
|---|---|
| Select an existing virtual network (do not create a new vnet) | Select your desired existing virtual network. The MongoDB Voyage API endpoint will be deployed into this virtual network. |
| Select or create a subnet that allows HTTP traffic | Select your desired subnet. Select "default" if you do not have custom or advanced subnets within your virtual network. The deployed MongoDB Voyage API endpoint will have a private IP address within this subnet. |
-
In the Review + create tab, review your configuration and click Create to confirm. Otherwise, click on the Previous button or the corresponding tabs to make changes.
-
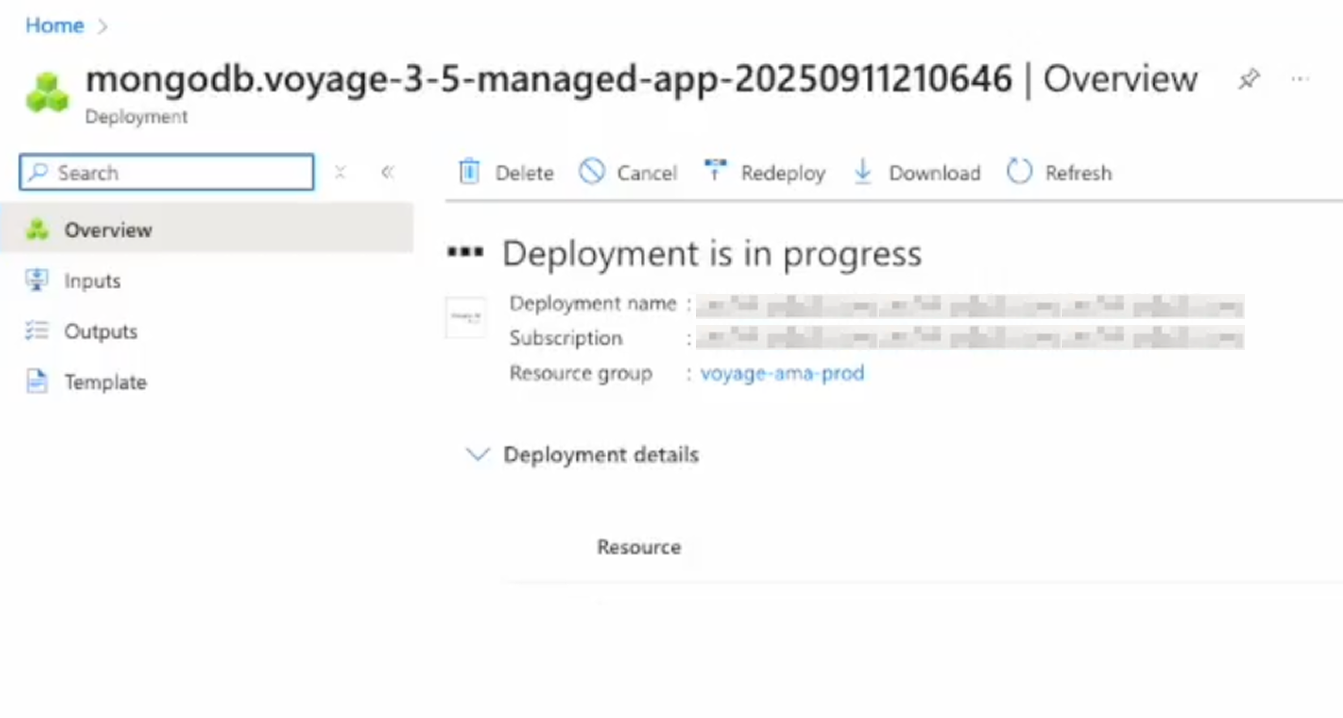
Verify your MongoDB Voyage API endpoint creation. As it is being created, you will see the status as "Deployment is in progress."
-
You will see the status change to "Your deployment is complete" when your MongoDB Voyage API endpoint has been successfully created.
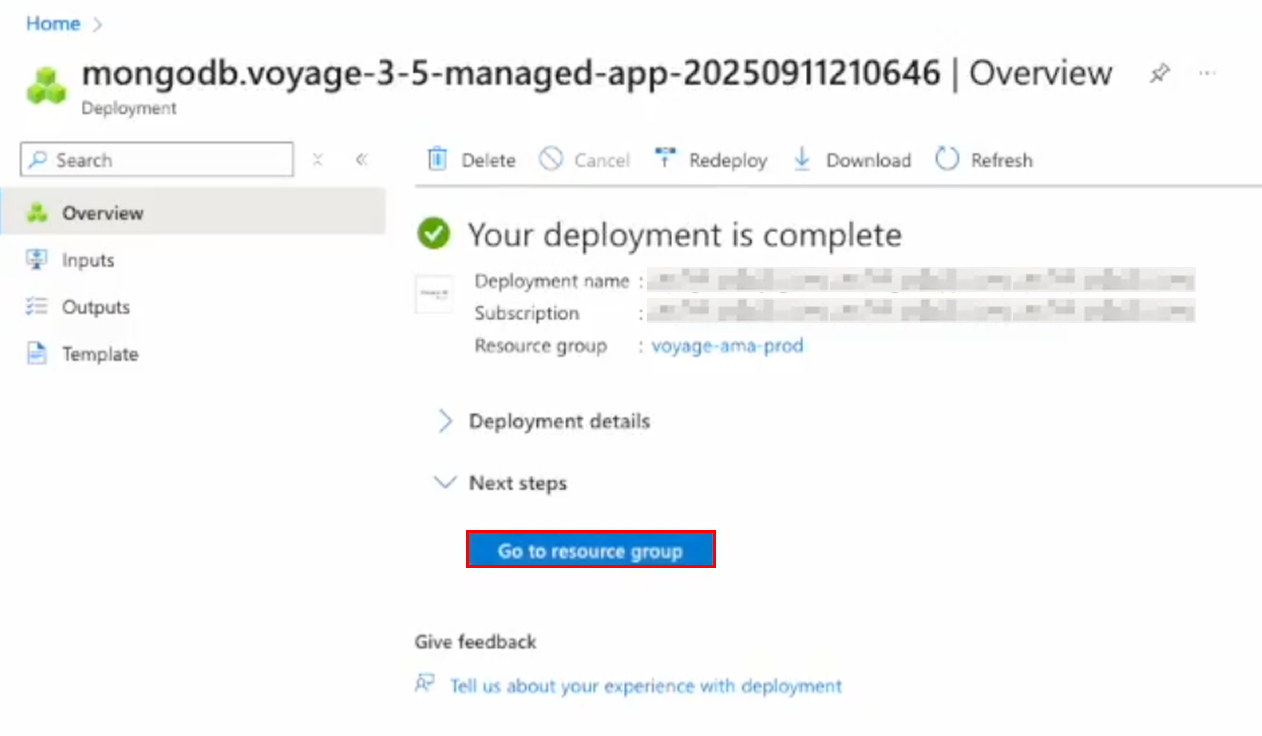
IMPORTANT: Click Go to resource to view the application properties.
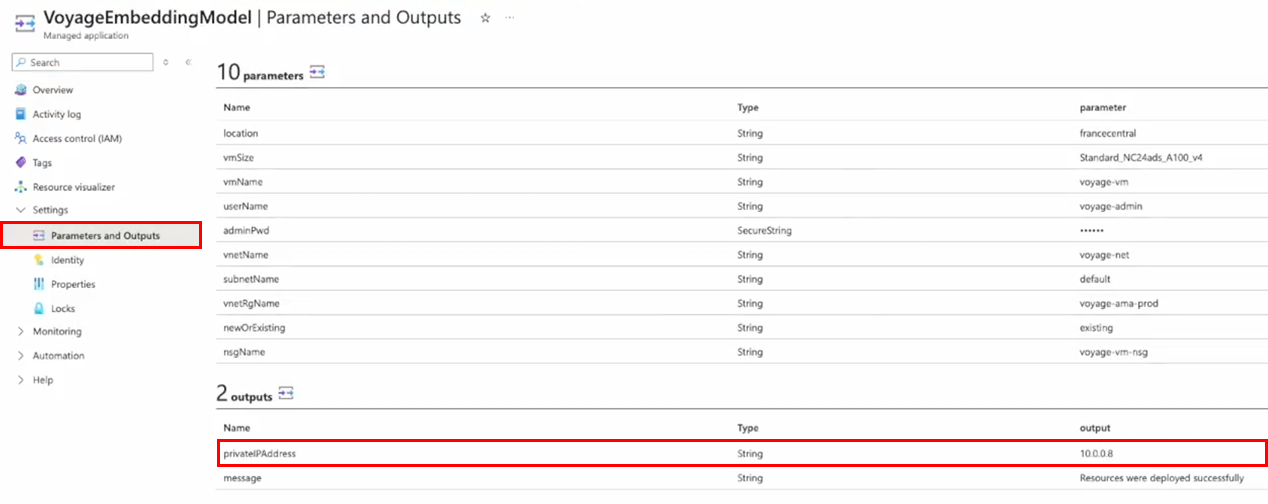
- IMPORTANT: From the application resource page, get the private IP of the endpoint by clicking on Parameters and Outputs under the Settings section. Take note of the private IP (”privateIPAddress” output); you will need this IP address to invoke the application endpoints.
If you need help deploying a MongoDB Voyage API endpoint from the Azure Marketplace, contact MongoDB support.
Accessing MongoDB Voyage API Endpoints
Once deployed, the MongoDB Voyage API endpoints can be accessed via HTTP requests by any service within the same virtual network.
Create Bastion Virtual Machine
To demonstrate how to access the MongoDB Voyage API endpoints, we will create a bastion virtual machine within the same virtual network. If you'd like to use or have other existing machines/servers in the network to query the model endpoints, you can skip this section and jump to the Invoke Voyage API Endpoint section.
-
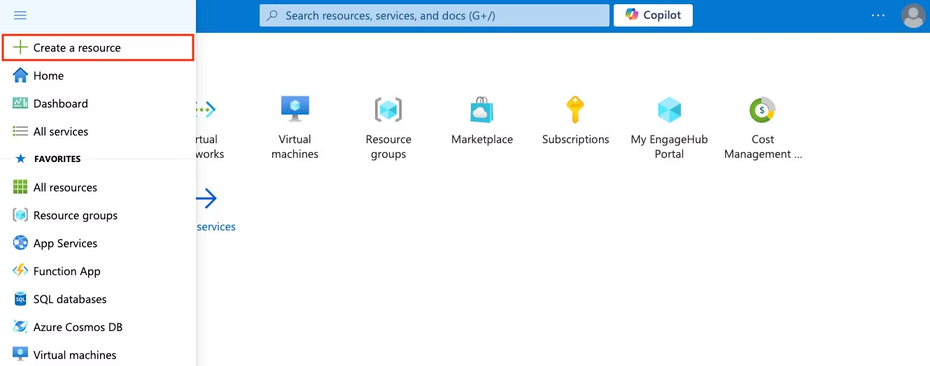
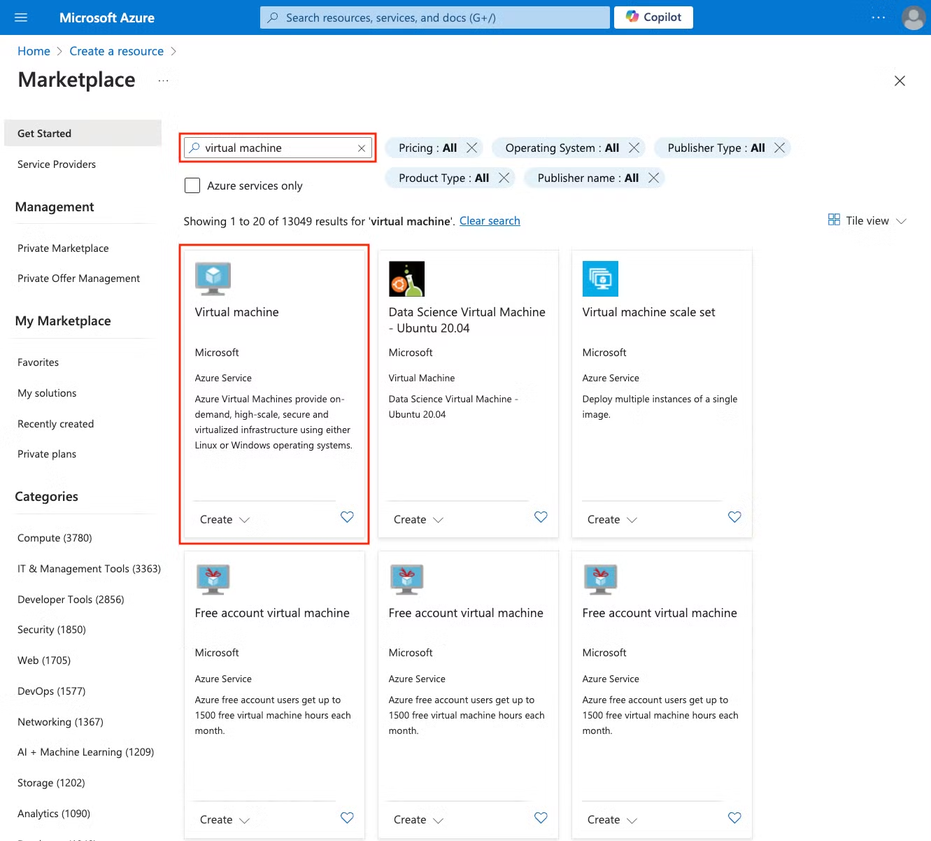
From the Azure portal home, click Create a resource.
-
Search for “virtual machine”. Select Virtual machine from the results.
-
Click Create.
This procedure walks you through a low-cost virtual machine configuration for demo purposes only. If you’re an advanced user, you can make customized configurations.
Basics
Fill out the fields in the Basics tab. Once complete, click Next.
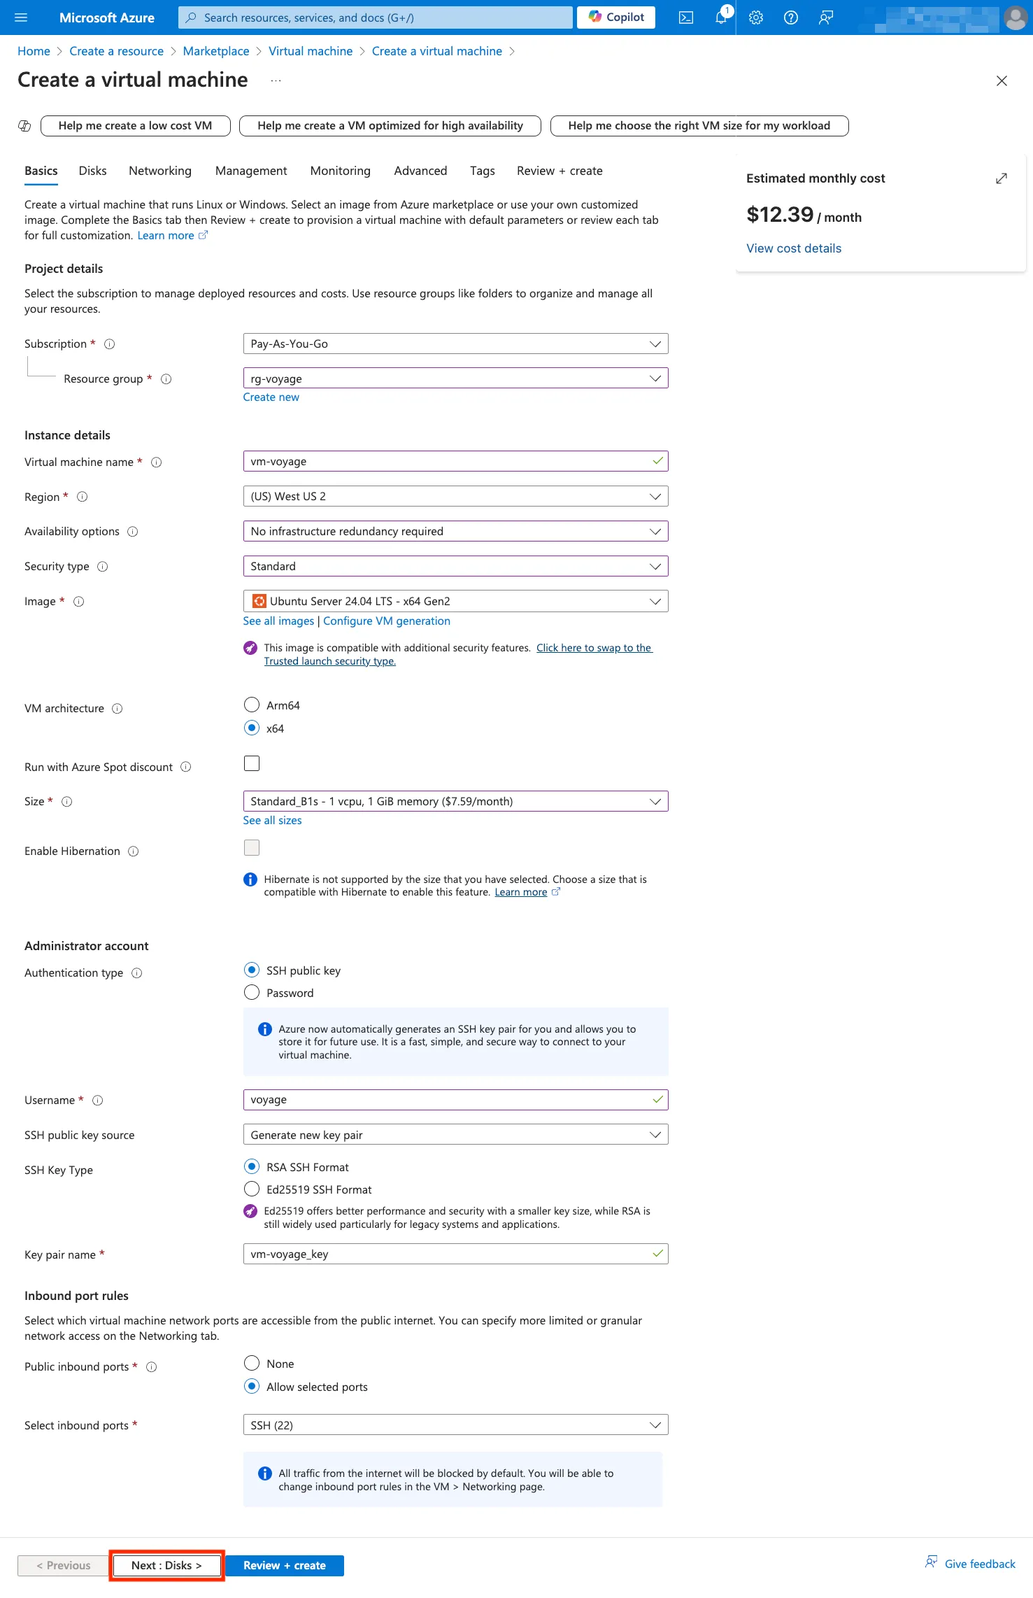
| Field | Value |
|---|---|
| Subscription | Select your subscription. |
| Resource group | Select the resource group that contains your Voyage API endpoint. |
| Virtual machine name | Provide a name for your virtual machine. |
| Region | Select the region of your Voyage API endpoint. |
| Availability options | Select “No infrastructure redundancy required” |
| Security type | Select “Standard”. |
| Image | Select “Ubuntu Server 24.04 LTS - x64 Gen2”. |
| VM architecture | Select “x64”. |
| Run with Azure Spot discount | Leave box unchecked. |
| Size | Select “Standard_B1s - 1 vcpu, 1GiB memory”. |
| Enable Hibernation | Leave box unchecked. |
| Authentication type | Select “SSH public key”. |
| Username | Enter “voyage”. |
| SSH public key source | Select “Generate new key pair”. |
| SSH Key Type | Select “RSA SSH Format”. |
| Key pair name | Enter “vm-voyage_key”. |
| Public inbound ports | Select “Allow selected ports”. |
| Select inbound ports | Select “SSH (22)”. |
Disks
Fill out the fields in the Disks tab. Once complete, click Next to move to Networking.
| Field | Value |
|---|---|
| Encryption at host | Leave box unchecked. |
| OS disk size | Select “Image default (30 GiB)”. |
| OS disk type | Select “Standard HDD (locally-redundant storage)”. |
| Delete with VM | Check the box. |
| Key management | Select “Platform-managed key”. |
| Enable Ultra Disk compatibility | Leave box unchecked. |
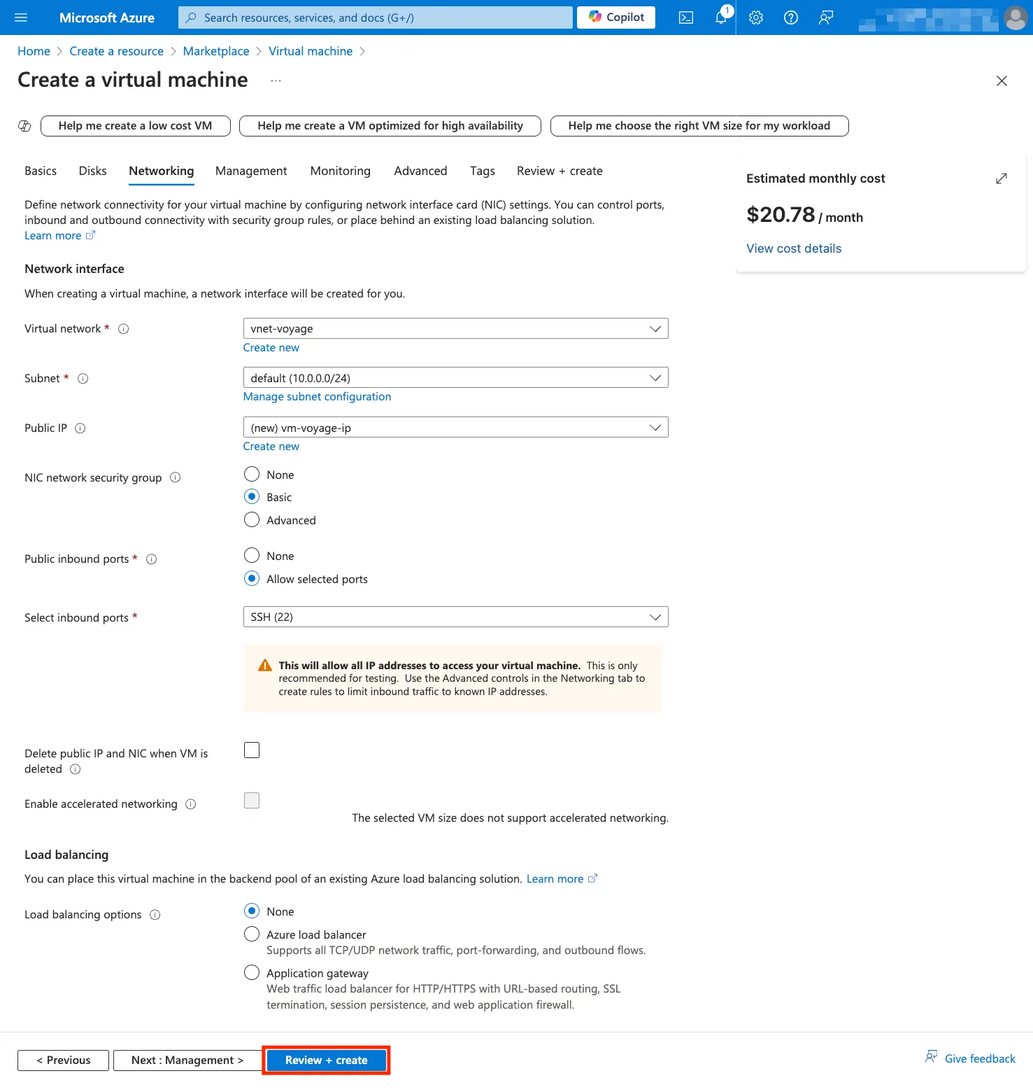
Networking
Fill out the fields in the Networking tab. Once complete, click Review + create.
| Field | Value |
|---|---|
| Virtual network | IMPORTANT. Select the virtual network in which your Voyage API endpoint is deployed. |
| Subnet | IMPORTANT. Select the subnet within the virtual network in which your Voyage API endpoint is deployed. |
| Public IP | IMPORTANT. Create a new public IP. If you do not create this, you will not be able to access your virtual machine from outside the virtual network. |
| NIC network security group | Select “Basic”. |
| Public inbound ports | Select “Allow selected port”. |
| Select inbound ports | Select “SSH (22)”. |
| Delete public IP and NIC when VM is deleted | Leave box unchecked. |
| Enable accelerated networking | Leave box unchecked. |
| Load balancing options | Select “None”. |
Review and Create
-
In the Review + create tab, review your configuration and click Create to confirm. Otherwise, click on the Previous button or the corresponding tabs to make changes.
-
A new Generate new key pair modal appears. Click Download private key and create resource to save the key to your local machine. Note where you saved the key.
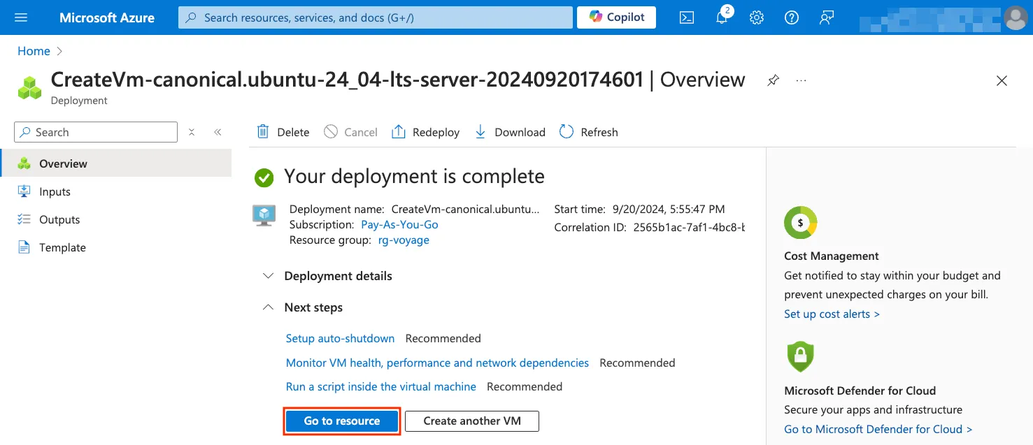
-
Verify your bastion virtual machine creation. As it is being created, you will see the status as "Deployment is in progress." You will see the status change to "Your deployment is complete" when your bastion virtual machine has been successfully created. Click Go to resource to get your bastion virtual machine public IP address.
-
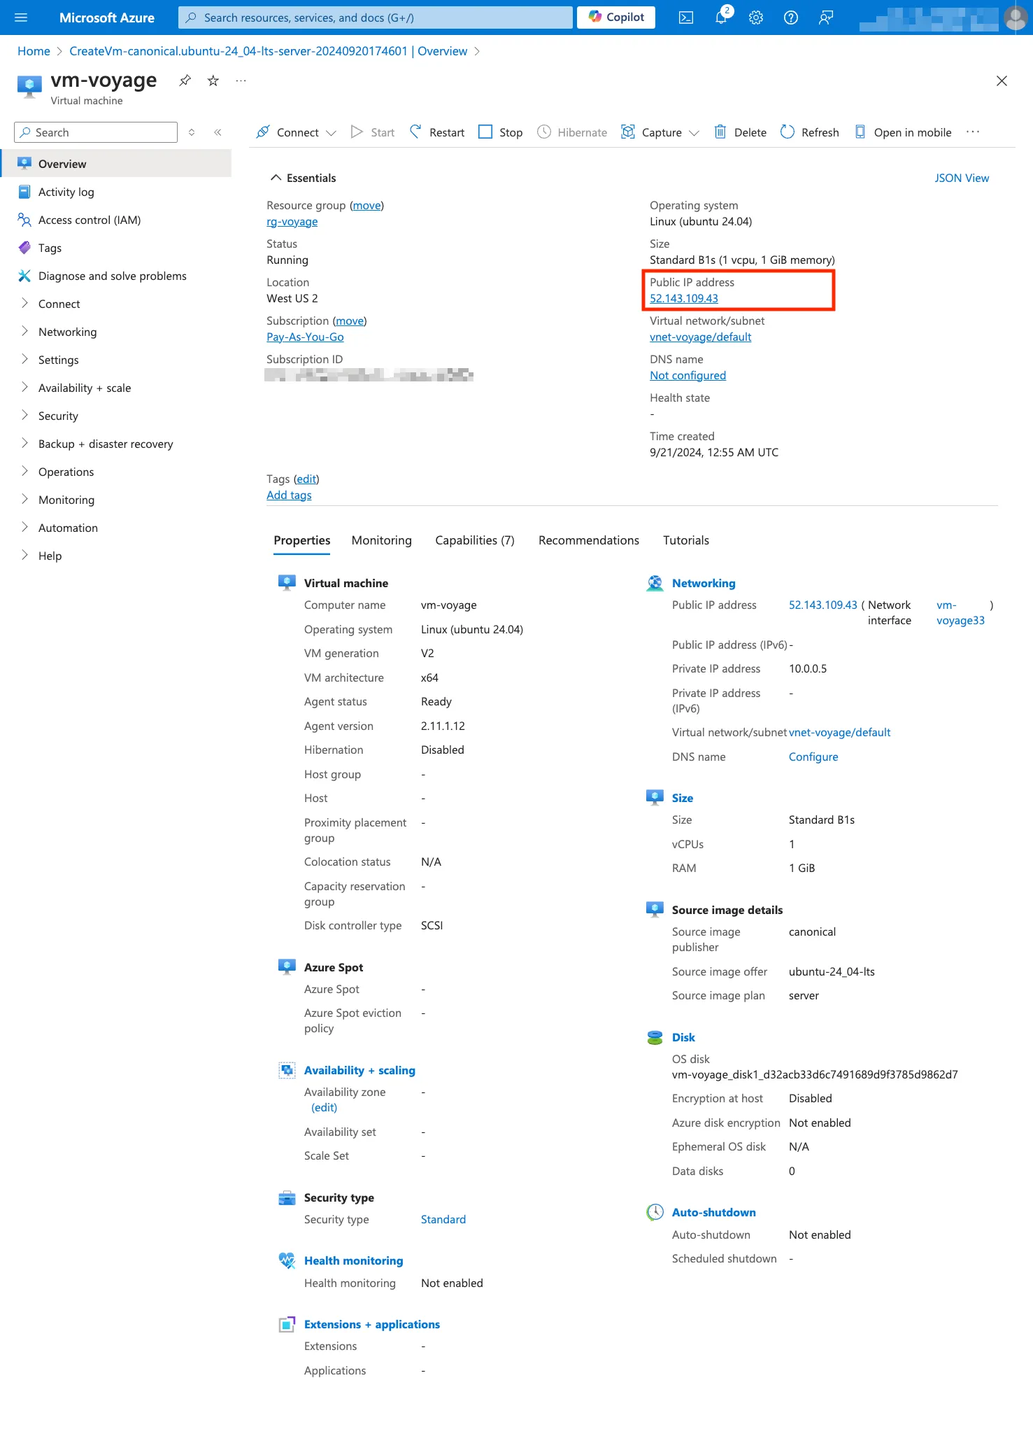
In your bastion virtual machine page, you can find the public IP address in the Overview section, under Essentials.
-
Update the permissions of the SSH private key you downloaded to read-only:
chmod 400 vm-voyage_key.pem -
Securely login into the bastion virtual machine shell (SSH) using your private key. The format is:
ssh -i {private-ssh-key} voyage@{bastion-vm-public-ip-address}. For example:ssh -i vm-voyage_key.pem [email protected].
Invoke MongoDB Voyage API Endpoint
- Verify the MongoDB Voyage API is reachable with the following endpoint:
http://{voyage-app-vnet-private-ip}/info. For example, using cURL: curl -X GET http://10.0.0.4/info.
- You can make a request to the Voyage API with the following endpoint:
http://{voyage-app-vnet-private-ip}/embeddings. For example, using cURL:
curl -X GET "http://10.0.0.4/embeddings" -H "Content-Type: application/json" -d '{ "input": ["Best-in-class embedding models and rerankers"], "input_type": "query" }'An example response:
{"model":"voyage-4","model_loaded":true,"tokenizer_initialized":true,"loading_status":"completed","gpu_info":{"count":1,"memory_allocated_mb":XXX,"memory_reserved_mb": XXX}}For all the endpoint parameters, refer to the API reference.
Delete a MongoDB Voyage API Application
To delete your MongoDB Voyage API endpoint, go to your application and click the Delete button in the Overview section. In the dialog box that appears, click Yes to confirm the deletion. This also deletes the associated managed resource group.
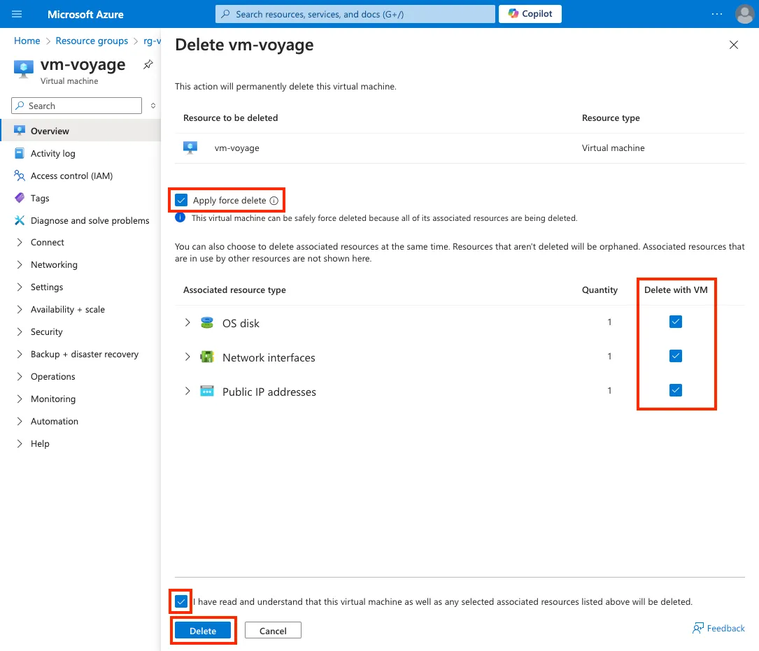
Delete Bastion Virtual Machine
If you have provisioned a bastion virtual machine, delete the virtual machine to avoid incurring wasteful costs and unexpected charges.
-
Go to your bastion virtual machine and click the Delete button in the Overview section. A delete panel appears.

-
In the delete panel, ensure all the virtual machine resources are deleted by checking all the checkboxes shown in the screenshot below: Apply force delete, OS disk, Network interfaces, Public IP addresses. Check the acknowledgement checkbox: "I have read and understand that this virtual machine as well as any selected associated resources listed above will be deleted." Finally, click Delete.